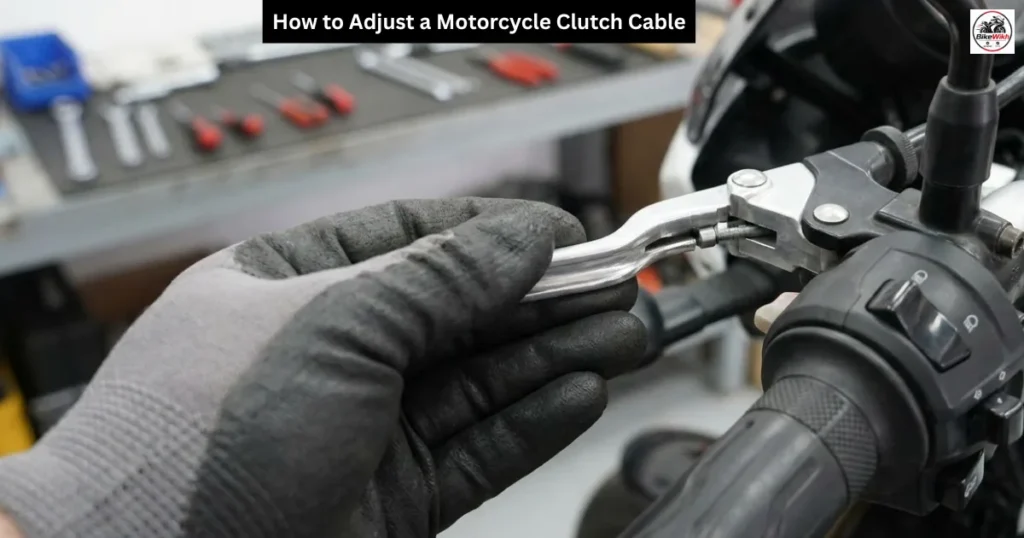
How to Adjust a Motorcycle Clutch Cable: Among all the mechanical touchpoints on your handlebars, your clutch lever is easily the most active control module you manipulate while riding. For modern motorcycles utilizing standard cable-driven wet clutch assemblies, maintaining the correct tension profile is absolutely paramount to long-term drivetrain health. Whether you are daily commuting through congested city avenues or carving canyon routes across fast US highways, a poorly adjusted clutch cable directly saps your vehicle’s performance capabilities.
Operating a motorcycle with zero clutch lever free play keeps constant tension on the release mechanism, causing the internal friction plates to slip at high engine speeds, overheat, and permanently burn out. Conversely, excessive cable slack prevents the clutch plates from separating completely, resulting in rough gear changes, missed neutrals, and a bike that dangerously creeps forward at stoplights when the lever is fully pulled. Fortunately, adjusting your clutch cable free play to factory specification limits is a fast, 10-minute DIY task that every rider can manage at home with simple hand tools.
In this comprehensive BikeWikh maintenance blueprint, we break down how to measure lever free play, utilize your upper barrel adjusters, and perform a complete lower engine cable adjustment to keep your transmission shifting smoothly.
How to Adjust a Motorcycle Clutch Cable: Understanding Clutch Lever Free Play Metrics
Before reaching for a socket wrench, you must understand what free play is and why a small mechanical gap is required at the handlebar control cluster.
Clutch lever free play is the distance the lever moves smoothly before it begins to pull the internal steel inner cable and engage the heavy springs inside the clutch basket clutch mechanism. This tiny, tension-free slack zone ensures that when your hand is fully off the handlebar, the clutch plates inside the crankcase are clamped together with 100% force, preventing engine power loss.
The Global Factory Specification: Most motorcycle manufacturers require a standard clutch lever free play measurement between 2mm and 3mm (roughly 0.08 to 0.12 inches) at the lever bracket gap, or 10mm to 15mm at the ball-end of the clutch lever.
The Nickle Test Shortcut: An easy real-world diagnostic metric is utilizing a standard US nickel coin. A nickel is roughly 2mm thick. If you can slide a nickel smoothly into the gap between the lever and the perch before the cable catches tension, your free play alignment sits right in the safe operational zone.
Step-by-Step Clutch Cable Adjustment Framework
Step 1: Clean and Inspect the Inner Cable Core
Park your motorcycle securely on level ground utilizing a center stand or a rear paddock stand. Turn the handlebars fully to the left and right to inspect the entire length of your clutch cable sleeve housing. Look closely for any structural cracks, sharp kinks, or exposed frayed steel strands near the lever pivot assembly. If the inner wire is frayed, stop troubleshooting immediately and install a fresh factory replacement cable, as a snapping cable mid-ride creates an extreme safety hazard.
Step 2: Minor Adjustment via the Handlebar Perch
If your clutch cable is simply a tiny bit loose or tight due to natural temperature changes or minor cable stretching, you can easily fix the free play using the upper barrel adjusters located right on the handlebar perch.
Locate the large, circular locknut sitting behind the knurled adjustment barrel on the clutch lever bracket. Rotate this locknut counterclockwise to release its grip.
To Increase Free Play (Loosen Cable): Screw the knurled adjustment barrel clockwise inward toward the perch. This adds slack to the inner core wire, widening your lever gap.
To Decrease Free Play (Tighten Cable): Rotate the knurled adjustment barrel counterclockwise outward away from the perch. This pulls the inner wire taut, tightening the lever action.
Once your metric ruler or nickel coin confirms the 2mm gap is accurate, spin the large locknut tightly back down against the perch to anchor the settings.
Step 3: Major Adjustment via the Lower Engine Mount
If your upper handlebar barrel adjuster is already screwed completely outward or inward with no remaining threads left to rotate, your upper system has run out of adjustment range. You must reset the system by performing a major adjustment via the lower engine case clutch linkage bracket.
- Return your upper handlebar barrel adjuster completely inward clockwise to restore full adjustment threads, then back it out two full turns to provide a flexible tuning buffer.
- Move down to the right-hand or left-hand lower side of your engine case to locate the lower clutch release arm and bracket.
- You will find two matching nuts locked together on a long threaded section of the lower cable sleeve. These are the Jam Nut and the Adjustment Nut.
- Take two open-ended wrenches and loosen the jam nut to release the cable casing.
- Slide the adjustment nuts forward or backward along the threaded bracket channel to radically alter the cable tension. Moving the nuts away from the release arm takes up massive cable slack, while moving them closer adds slack.
- Lock the lower jam nut firmly down against the mounting bracket once your primary tension is achieved. Return to the handlebars to complete your micro-tuning using Step 2.
How to Adjust a Motorcycle Clutch Cable: Clutch Performance Diagnostic Matrix
| Clutch System Symptom | Probable Mechanical Issue | Immediate Garage Correction |
|---|
| Engine revs high, but bike accelerates slow | Zero free play; clutch plates are actively slipping | Loosen barrel adjusters to restore the 2mm gap |
| Bike creeps forward at stops with lever pulled | Excessive cable slack; plates are dragging unevenly | Tighten upper or lower adjustment nuts to remove sag |
| Hard to click into Neutral from a stop sign | Incomplete clutch plate separation due to cable lag | Increase cable tension via the lower engine case bracket |
| Clutch lever feels stiff, rough, or scratchy | Inner wire lining is dry, rusted, or structurally frayed | Spray dedicated cable lube or install a fresh core wire |
Conclusion
Mastering a DIY motorcycle clutch cable adjustment completely eliminates gear slippage and ensures your sportbike, naked standard, or cruiser delivers crisp shifting mechanics across every RPM range. By tracking your 2mm free play markers weekly, utilizing matching upper and lower adjustment brackets systematically, and lubricating your inner core wire regularly, you protect your expensive internal friction plates from premature thermal wear. Keep your barrel locknuts tightened securely, monitor your cable play gaps before every long road trip, and enjoy a perfectly responsive, immediate clutch engagement on every single run!
I live and breathe motorcycles. From carving technical canyon curves to tearing up remote weekend dirt trails, my life revolves around two wheels. I started BikeWikh to cut through corporate marketing fluff and bring riders honest, real-world reviews and practical garage tips. Whether you are a beginner picking your first machine or a veteran rider planning an interstate road trip, I am here to help you gear up and ride smart.