
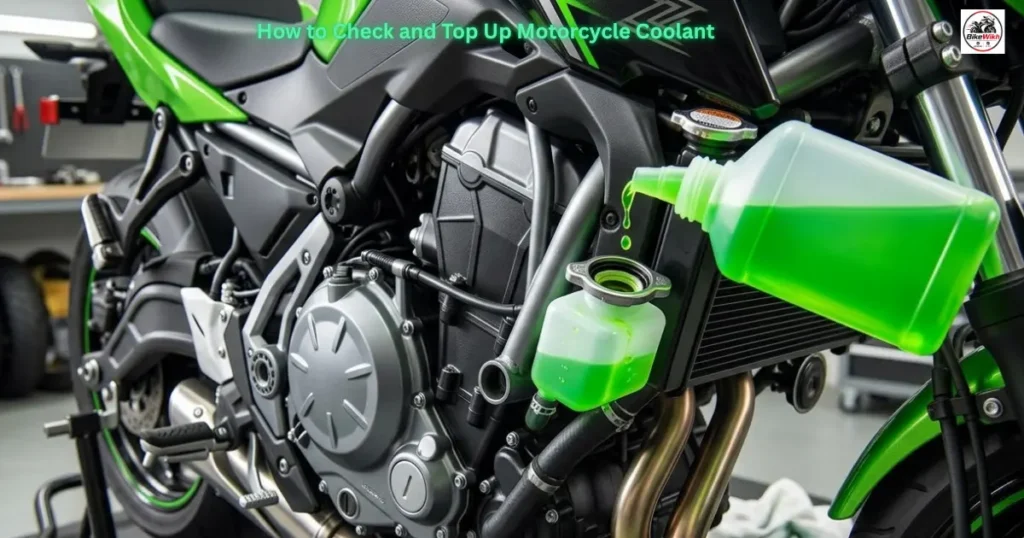
How to Check and Top Up Motorcycle Coolant: While most everyday motorcycle maintenance conversations naturally revolve around engine oil changes and chain lubrication, there is one vital fluid that frequently gets completely overlooked until it is too late: your engine coolant. For modern liquid-cooled motorcycles operating across the United States, the cooling system is the only line of defence preventing your engine from reaching catastrophic thermal limits during peak summer heatwaves or freezing solid during harsh winter storage.
Operating a motorcycle with low, contaminated, or degraded coolant causes intense internal scaling, water pump failure, blown head gaskets, and permanent engine warping. Fortunately, inspecting your coolant reservoir tank level and topping it up is an incredibly easy, 15-minute DIY task you can perform at home with minimal tools.
In this comprehensive BikeWikh maintenance guide, we break down the exact steps to locate your reservoir, check fluid levels accurately, and safely top up your system using the right antifreeze mixture.
Strict Safety Warning: Never Open a Hot Radiator!
CRITICAL SAFETY RULE: Never, under any circumstances, attempt to open the main radiator cap while the motorcycle engine is warm or hot. A cooling system operates under extreme pressure. Opening the cap on a hot engine will cause boiling, pressurized coolant to erupt violently like a volcano, resulting in severe third-degree facial and skin burns. Always let the motorcycle sit completely idle for at least two to three hours until the engine case is cold to the touch before starting your inspection.
Essential Supplies Checklist
Before opening any caps, gather these clean supplies next to your motorcycle to ensure a smooth maintenance workflow.
- Premium Motorcycle-Specific Coolant: Look for an aluminum-safe, silicate-free, and phosphate-free formula (pre-diluted 50/50 mixtures are highly recommended).
- Distilled Water: Essential if you are mixing concentrated coolant yourself. Never use tap water, as its mineral content causes heavy rust crust inside radiator lines.
- Clean Funnel: Prevents fluid overspray from spilling onto your painted body panels or engine casings.
- Flashlight: To clearly see the fluid level lines through translucent plastic reservoir tanks.
- Microfiber Shop Towels: To immediately wipe up any minor fluid drops.
Step-by-Step Coolant Inspection & Top-Up Process
Step 1: Place the Bike in an Upright Position
Park your motorcycle on completely level, stable ground. Do not check your coolant while the motorcycle is resting on its side stand, as the leaning angle will give you an inaccurate, skewed reading. Place the bike securely on a center stand or a rear paddock stand. If you do not own a stand, hold the handlebars to level the bike straight up while checking the lines.
Step 2: Locate the Coolant Expansion Reservoir Tank
Do not mistake your main metal radiator cap for the inspection point. Liquid-cooled bikes feature a translucent plastic overflow tank, known as the coolant expansion reservoir. This tank is typically tucked behind the side fairings, near the rear shock absorber, or right under the seat layout. Use your flashlight to locate the “Full/Max” and “Low/Min” marking indicators stamped on the side of the plastic container.
Step 3: Evaluate the Fluid Level and Condition
Shine your flashlight through the rear of the plastic reservoir. The fluid level should rest comfortably right between the upper Max and lower Min marks.
- Condition Check: Take a close look at the color of the liquid. Fresh coolant should look bright green, blue, pink, or orange depending on the brand chemistry. If the fluid looks cloudy, dark brown, or has oily sludge floating at the top, your system is heavily contaminated and requires a complete mechanical cooling system flush rather than a simple top-up.
Step 4: Open the Reservoir Cap and Insert the Funnel
Locate the soft rubber or plastic cap on top of the expansion reservoir tank (not the pressurized metal radiator cap). Clean the surrounding area thoroughly with a dry towel to prevent road dirt or sand grit from falling inside the tank. Pop open the rubber cap cleanly and insert your funnel into the neck.
Step 5: Carefully Top Up to the Safe Zone
Slowly pour your pre-diluted 50/50 motorcycle coolant into the funnel. Stop pouring every few seconds to let the fluid settle, checking the marking lines on the side of the tank with your flashlight. Fill the reservoir until the fluid line sits just slightly below the “Full/Max” indicator mark.
PRO TIP: Never fill the expansion tank completely to the absolute top edge. As your engine runs and heats up, the coolant expands in volume and requires that open air buffer zone inside the overflow tank. Overfilling will cause hot fluid to bleed out of the overflow drainage tube directly onto the road or your rear tire tread, creating a slippery riding hazard.
Step 6: Reseal the Tank and Test Run
Firmly press the rubber reservoir cap back down, ensuring it creates a completely airtight, leak-free seal. Wipe away any accidental fluid drops on surrounding metal or plastic panels. Start your motorcycle’s engine and let it idle for 5 minutes until it reaches normal operating temperature, verifying that no leaks are seeping from your hose joints or overflow caps.
How to Check and Top Up Motorcycle Coolant: Troubleshooting Fluid Drops: When to See a Mechanic
| Diagnostic Symptom | Probable System Issue | Immediate Maintenance Action |
|---|---|---|
| Slight fluid drop over 6 months | Natural evaporation through vent tubes | Simple top-up with pre-diluted 50/50 coolant |
| Rapid fluid drop within 1 week | Active external hose or radiator core leak | Inspect hose clamps and radiator fins for damp spots |
| White smoke from exhaust pipe | Internal head gasket failure (coolant entering engine) | Stop riding immediately and book a professional engine rebuild |
Conclusion
Checking your motorcycle coolant reservoir level is a fast, highly rewarding maintenance routine that takes less than 15 minutes but saves your engine drive components from catastrophic overheating failures. By keeping the fluid balanced below the Max line, utilizing silicate-free mixtures, and always performing the check on a completely cold engine, you keep your machine running cool all year long!